Translate

Showing posts with label Sweet poppy stencils. Show all posts

Monday, 24 May 2021

Good evening. 
I hope you can join Lucy from Sweet Poppy Stencils on the craft store (Hochanda) at 9am and 1pm, tomorrow 24th May. Lucy will be sharing some great hints and tips a long with a few fabulous demonstrations. There are also some new releases that will be available from the website tomorrow, they won’t be on the show but if you get a chance pop over to the Sweet Poppy Stencils Website


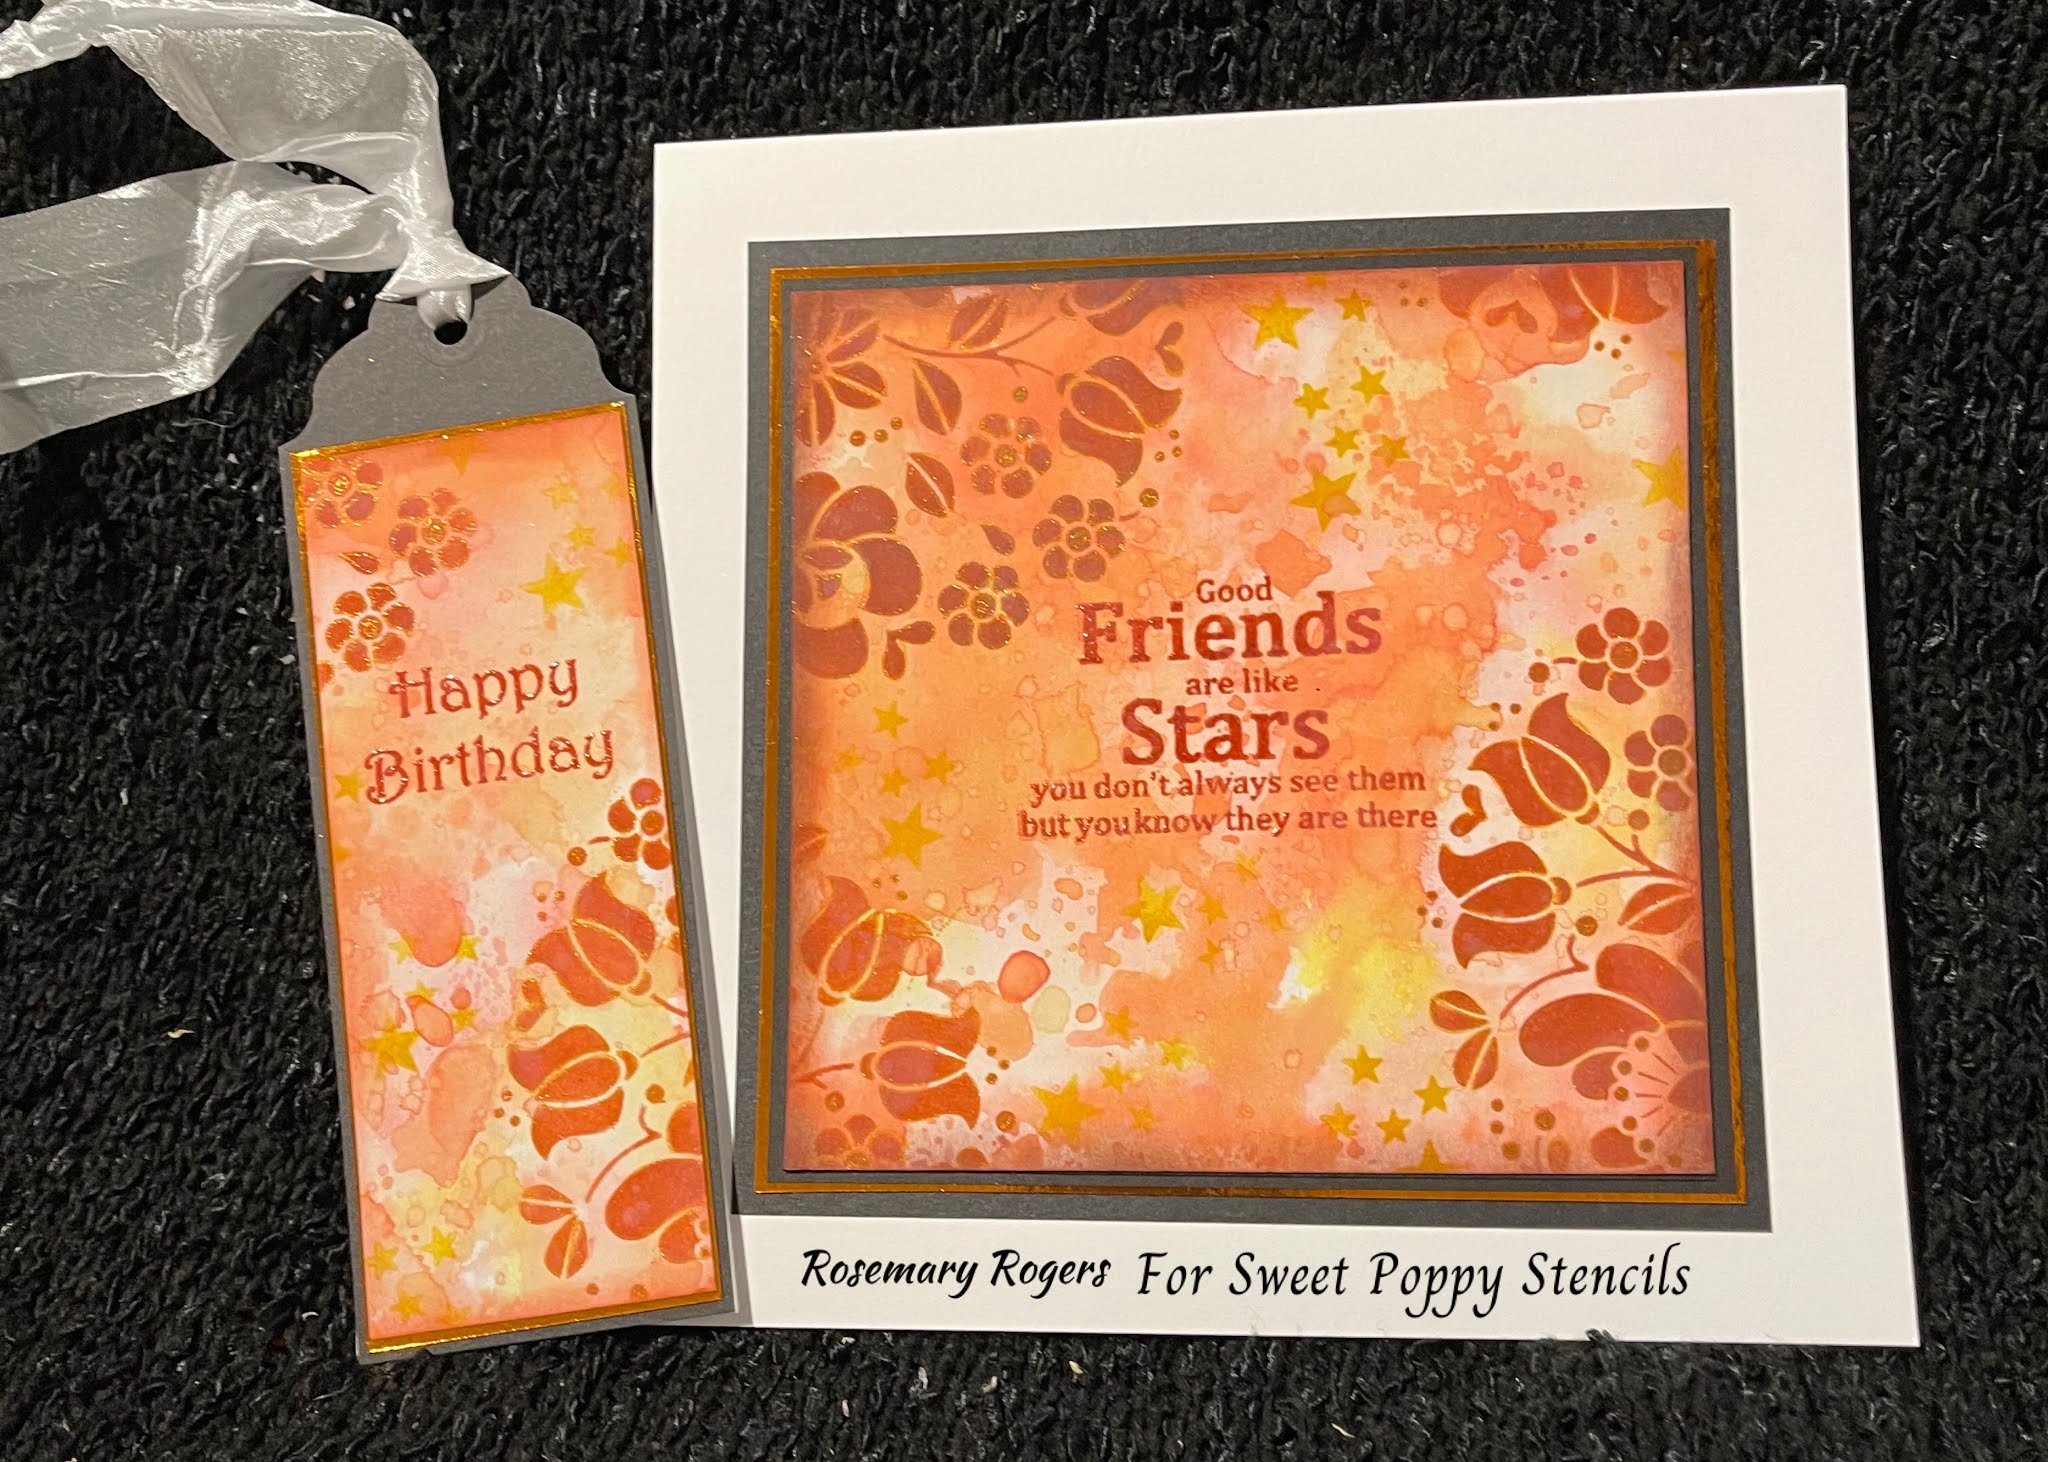
For this card I used Harmony inks on the background, smooched onto a  mat then sprayed with water, smooched the card onto the mat 2 or 3 times drying in between until I was happy with the background. Then I inked through the Honeysuckle stencil, highlighted image with an Orange sparkle pen. Stamped sentiment from Life’s a journey stamp set made a matching tag to go with this card. 


For this sample I used shaving foam mixed with a little orange distress oxide spray, through the Abstract circle backplate, once dry inked the Ornate dragonfly with black versafine ink. Stamp from the life’s a journey set. Highlighted background with a clear glitter pen. Embellished edges with gold foil. 


                          For this card I also used the ornate dragonfly, along with the Brick wall stencil
                       The background was made when I joined an online workshop run by Eileen Godwin


The next two cards backgrounds were shaving foam backgrounds. 
I pasted through the honeysuckle card with white paste, then sprinkled sweet poppy stencil platinum glitter. 


On this card I used Fairy seahorse also known as Sebastian 
I pasted though the stencil then sprinkled the new jewel tones over the wet paste, when dry brushed off excess with a brush to leave a beautiful shiny seahorse. 

 Enjoy the shows, look forward to seeing all your creations. Don’t forget to pop over to the simply sweet Poppy stencils Facebook page, for lots of inspiration. 

Friday, 31 July 2020

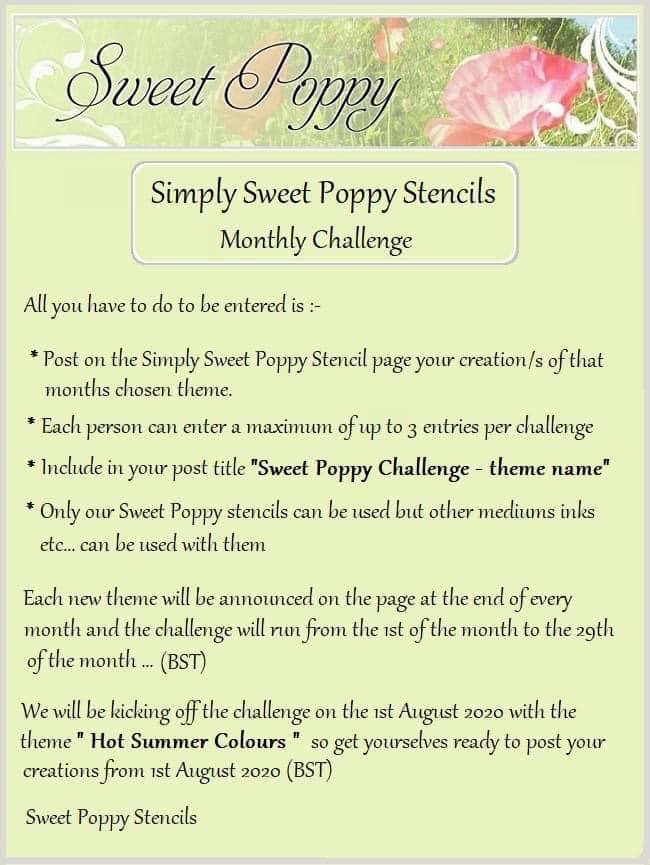
Sweet Poppy stencil creative challenge

Good afternoon, what a beautiful day it is. 
Well tomorrow is the 1st of August, it is the start of the first sweet poppy stencils creative challenge. 
Lucy is being very generous by offering a £40 voucher to spend in the sweet poppy stencils online store. 
The winner will be chose at random so everyone is in with a chance.  
The design team have been busy creating inspirational projects for you. 

The theme for August is Hot summer colours, how appropriate for today’s beautiful weather here in 
London, it reached 38’ in my little garden which is a sun trap. 

The challenge runs from the 1st till the 29th August on the simply sweet poppy stencils Facebook page. 

Here are the rules for entering.


I have made a card especially for the challenge using the Elephants and the Fall, back plate as I just love them. 
Quite a quick card to make, the background was made with distress oxide using the wet wipe technique. I used Distress inks, worn lipstick, squeezed lemonade and spiced marmalade, then used Black Memento ink for the images and ground area. Used a Honey Doo flower stamp on the base of the card. 
Here are some extra cards that I’ve made in the past that could also be used for The hot summer Colours theme.


Friday, 1 May 2020

Lavinia stamps May challenge 2020

Fauna and Flora.

Good morning.
Hope you are all keeping well, safe, and finding things to do during lockdown.
My family are all trying to keep busy. Doing some Keep fit, baking, doodling, cleaning, decorating, sorting cupboards etc and of course a bit of crafting in the evenings.

May has arrived So that means the Lavinia stamps monthly challenge has begun. The theme this month is Flora and Fauna.

For full info please follow the link below.
Lavinia Creative Challenge.

For my first card Sample this month I used the following products:
Aurora
Star blossom
Willow
I used wilted violet, ocean blue, mermaid lagoon and faded jeans distress oxide. Placed colours onto a  glass mat then sprayed with water. Smooched card through ink then dried each layer repeating for each colour. In the background I used Star blossom stencil from sweet poppy stencils designed by Tracey Dutton. I inked through the stencil with faded jeans distress oxide. Stamped images with versafine Clair Nocturne ink. Then highlighted flowers with  blue sparkle pen and other images with clear gel pen.


Products used for this sample:
Fairy orchid set
Single fairy orchid.
Flower flourish.
I also used one of the leaves from the small green man.

I used spiced marmalade, picked raspberry, and warm lipstick distress oxide. Placed colours onto a  glass mat then sprayed with water. Smooched card through ink then dried each layer repeating for each colour. In the background I used  Foilage from sweet poppy stencils designed by Tracey Dutton. I inked through the stencil with spiced marmalade distress oxide. Stamped images with versafine Clair Nocturne ink, coloured flowers with purple sparkle pen mixed with a little water then splashed onto the card. Then highlighted flowers and other images with clear gel pen. Blended black soot  distress ink around edge of card.


Good luck with your entries I look forward to seeing your beautiful creations. 
Take care and stay safe. 

Sunday, 19 April 2020

Sweet poppy stencils


Lucy from sweet poppy stencils will be on Hochanda on the 20th April at 5pm. Due to the unusual situation we all find ourselves in Lucy will not be in the studio, so the demos have been recorded! 
So if your looking for inspiration get yourself a cuppa and chill in front of the tv for an hour watching Lucy create samples with her wonderful stencils. 

For this samples I used the Magnolia stencil. For the background I used candied apple, spiced marmalade and black soot, around the edge I used the curly bits from the Twisted vine stencil then highlighted with gold pen. 


For this sample I used the Wheat stencil. First I made the background using Distress oxide wild honey, fossilised amber, squeezed lemonade and gathered twigs. I inked up the stencil with vintage photo distress oxide then used Transparent paste over top.
I the used the stencil on the badges of the card and stamped the Spring verse from the seasons stamp set in versafine Clair acorn ink. 


    For this sample I used the Twisted vine stencil and using white gesso and a little carved pumpkin distress ink inked through the stencil. Cleaned and dried stencil then inked through with twisted citron. Then inked background with crushed olive, mowed lawn, soot black and peeled paint Distress ink. I then inked through the Magnolia stencil with black  memento ink. Finished card with a sentiment stamp and black glitter pen splashes. 


 For this sample I used the Wheat stencil. First I made the background using Distress oxide wild honey, fossilised amber, squeezed lemonade and gathered twigs. I inked up the stencil with the same oxides using a different colour in each corner. Then I cut a square from the centre and stamped the Smile word from the smile stamp set, then mounted onto brown card an replaced using double sided pads. 


 For this sample I used the Wheat stencil. First Sprayed the inked stencil with water then placed over a piece of card, this transferred the ink onto the card leaving the wheat patten in white,then I placed the stencil on the card And inked up using fossilised amber.  I then added some extra colour to the background using Distress oxide wild honey, fossilised amber, squeezed lemonade and gathered twigs. I stamped the edges of the card using the Snowflake From the Noel stamp set. Added a bow made from string. 


Stay safe and enjoy the show.  Happy crafting. 

Tuesday, 21 May 2019

Sweet Poppy stencils. 

Hello All. 
I’m so happy to tell you that I am now officially on the Sweet Poppy stencils Design team. I feel very honoured to have been asked to join such a wonderful team of designers. 

Sweet Poppy Stencils are back on Hochanda on 21st May @ 11am & 3pm with their fabulous stencils and stamps. Please tune on Tuesday watch Lucy demonstrate some fabulous techniques. 

They also have some wonderful new stamps. 

Broadcasting Live on Sky 673, Freesat channel 817, Freeview channel 85, and streaming in HD online 
www.hochanda.com

Here is a link to the website. 
https://www.sweet-poppy.com/catalog/sweet-poppy-stencil-stamp-dragon-p-1708.html

Sharing some of my samples.
For this sample I have used the Phoenix stencil ,
There was some water colour left on the stencil, so I placed on card 
and spritzed with water. When I noticed the colour spreading onto the card I lifted the stencil.
Cleaned  and dried it, then placed it back onto the dry card and inked through the stencil with 
Archival black ink. 
                                                                                             
For this card I used zig water colour duel tip pens and drew around each part of the stencil with 
the thick end of the pen. Then removed the stencil and spritzed water at it, left it to dry naturally. 
Then inked through stencil with black archival ink. 

This card was made in collaboration with my best friend Tracy Nutton. 
The background was repeated stamping until whole card was covered. 
The eye stamp from the set was coloured with zig water colour pens. The red centre of the eye was coloured 
with sweet poppy stencil mica powder. For the frame I used silver paste sprinkled with red and grey mica powders then heated until it bubbled. Mounted on Black and red card. 

Black tip was stamped in black versafine and embossed with clear embossing powder. 
I then coloured him with zig water colour pens, I scribbled them onto my craft mat then using a little water on a bush I painted the dragon using a gunmetal colour and a beige colour. I stamped the faux skin stamp three times then cut them in 3 different sizes to make the flower. 

Black tip Stencil
   I used navy blue and olive gold mica powders from sweet poppy stencils over silver paste, then heated until paste bubbled. the background was done using the Faux dragon leather back plate, using bundled sage and  crushed olive distress oxide. Words stamped with versafine black onyx ink. 


I used a blue and purple zig pens scribbled onto my craft mat then spritzed with a little water before smooching card onto the colours, drying card in between each colour, coloured the dragon with the same pens, cutting around stamp on the scan and cut, was very happy with the cut was near perfect, then mounted onto card with foam pads. 


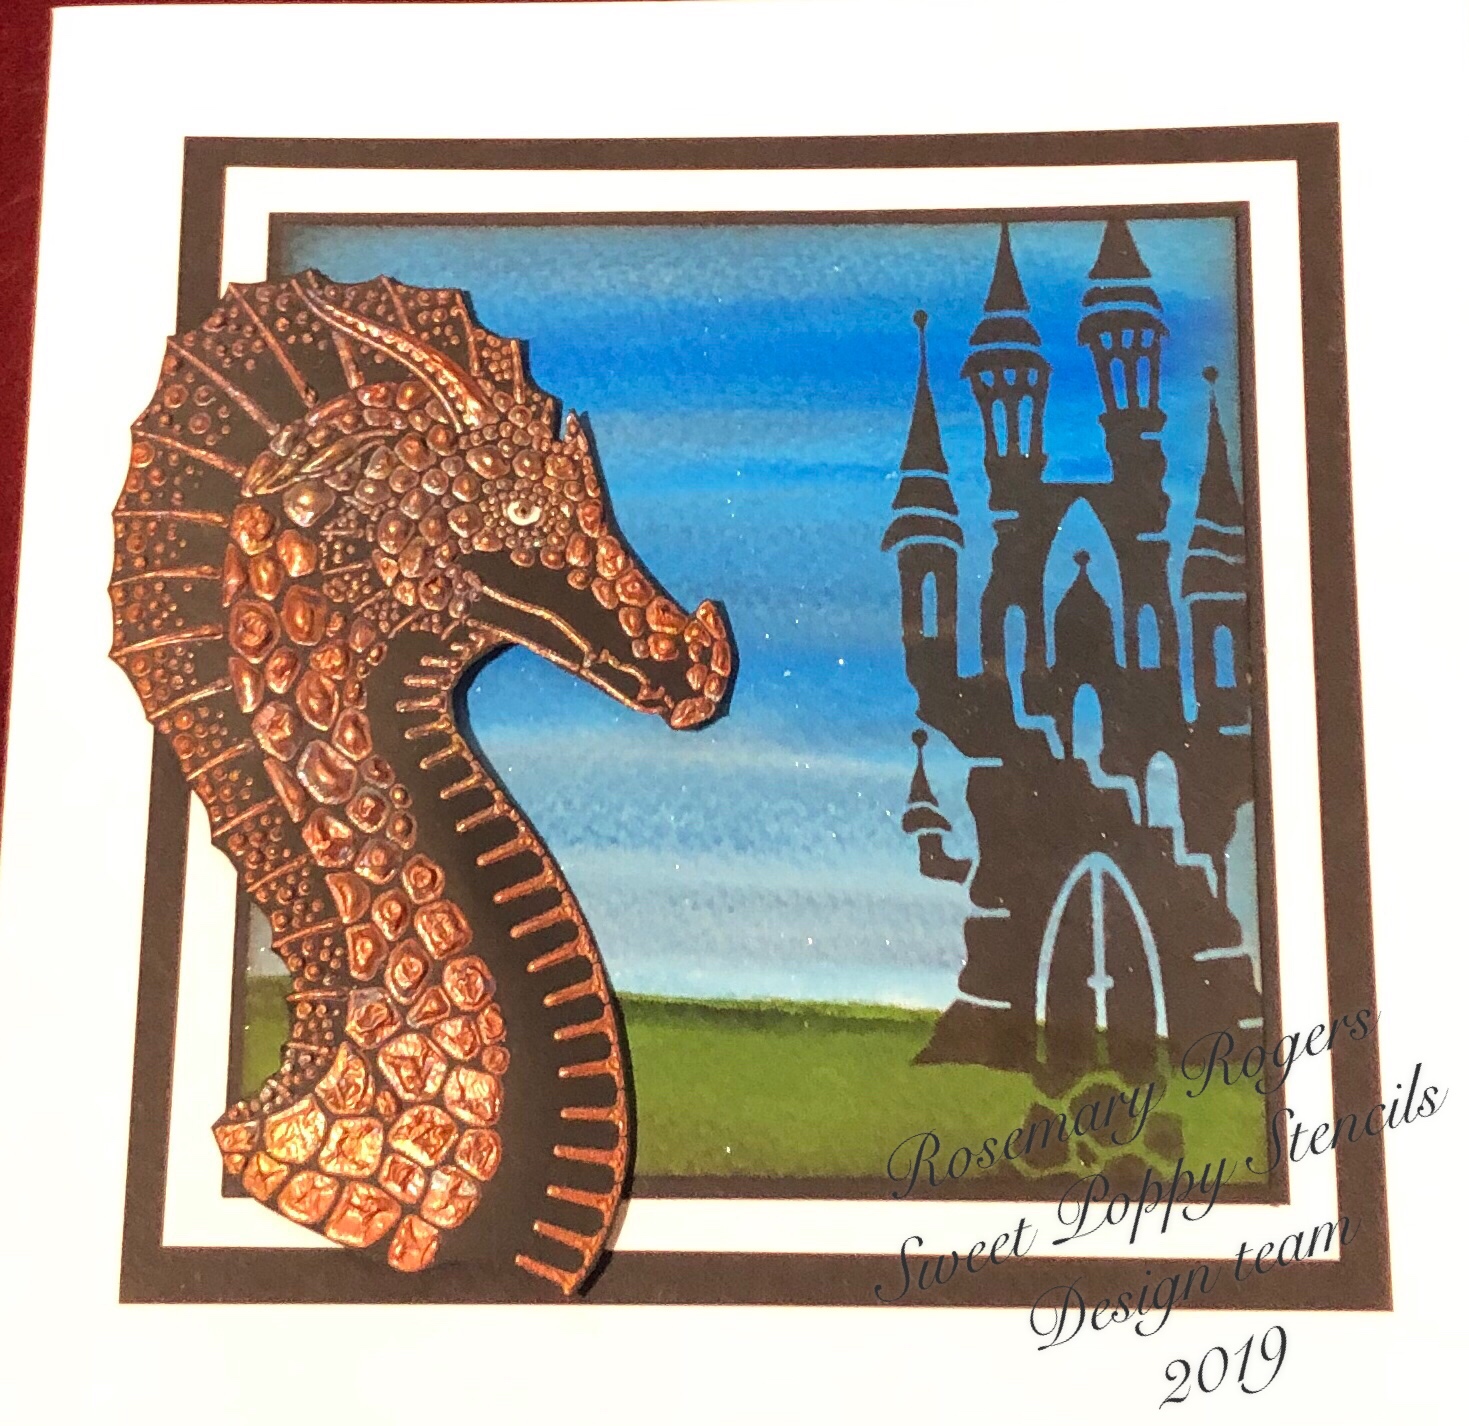
I used sparkle pens in blue, green and a little purple onto card then brushed over with a wet paint brush, for the back ground. Dabbed through the castle stencil with archival black ink using a stencil brush. used copper paste through stencil then sprinkled with a little silver mica before heating with heat gun to get the bubbled effect, also used the dragon stencil to make the path to the castle.


Not sure how I made this background, but thought it was fitting for the Phoenix,  
Used translucent paste, then covered in clear mini beads. Once dry placed stencil back in place and with black archival ink coloured the clear beads. was happy with this technique as the phoenix was still translucent and could make out the colours coming though the beads. high-lighted with white pen.  

for my final sample I used the sweet poppy stencil tag die. Using mowed lawn and spiced marmalade oxide inks blended onto my tag, inked through leaf stencil with mowed lawn,  then slashed ink from a green and orange sparkle pen onto the background. Stenciled Dragon with copper paste onto white card, then heated until it bubbled, once dry coloured with zig pens and water, cut out by hand then mounted with foam pads.
Hope you enjoy the shows, look forward to sharing more samples soon.

Wednesday, 2 January 2019

Sweet poppy stencils.

Proud to be a guest designer on sweet poppy stencils. So looking forward to making some samples with these fantastic stencils. I started making this card just before Christmas. Finally got to finish it today.
Here are the links to the stencils I used.
Such a beautiful designs
Stags head
Leaf background 1
Stamp used from the Noel set
The background was made using distress oxide inks, Twisted Citroen, peeled paint, antique linen and walnut stain. I squished the inks onto my craft mat then sprayed with water. Dabbed a sponge into the ink then dabbed sponge onto the card one at a time drying in between. Dapped peeled paint oxide straight from the pad though the background stencil with a piece of dry sponge. Dabbed the walnut stain oxide though the stencil using a stencil brush. Once dry went over stag image with clear sparkle pen. Used vintage photo ink on the edge of the card then stamped words with potting soil archival ink.
Hope you like it. Thanks for visiting.

Tuesday, 4 April 2017

Lavinia stamps


Good evening Folks.
The Lavinia stamps April challenge is well underway on the Facebook page. The theme for April is Buds and Blooms. The prize is a £40 gift voucher to spend in the Lavinia store. to participate in the challenge and full details please follow the following link
  http://laviniastamps.com/lavinia-stamps-monthly-creative-challenge/

My cards for this month used the following products..
http://laviniastamps.com/product/fairy-pods/

The fairy pods were stamped onto parchment paper with white embossing powder then highlighted with clear winkastella.
For the background I used Evergreen bough and shaded lilac distress ink the Rose stencil is designed by Lavinia stamps and is available from  sweet poppy stencils. i then highlighted the border with a purple glitter pen  

BloggerImage
For card 2 I used 
http://laviniastamps.com/product/thistles/
http://laviniastamps.com/product/zen-flower-3/
http://laviniastamps.com/product/zen-flutterby/
http://laviniastamps.com/product/magical-birthday/

For the background I used worn liptsick and squeezed lemonade  distress inks
First I stamped the zen flower 3 onto my card stock, then masked them before stamping the thistles, leaving the zen flower masked, I used ink dusters to do the background I then stamped zen blossom with scattered straw distress ink. Gave the flowers a stem using the fairy pod flower stamp drew in a border freehand. final touch was dots of glitter around outside of main flower then decoupaged  another flower on top of front flower embellished with red glitter pen and a black bead.

BloggerImage


Tuesday, 28 February 2017

Lavinia stamps March challenge.

          Good evening. 
March has arrived so it's time for the Lavinia stamps challenge, which starts today. The theme for this month is sparkle and bling.   
The winner picked at random will win a £40 voucher to spend in the Lavinia stamps store. For full details on the challenge please visit the Lavinia stamps Facebook page. 


I look forward to seeing your creations this month. 

I have made to cards to inspire your imagination. 
Card one.
The first card was a distress inked background using mustard seed,salty ocean, festive berries,barn door, and bundled sage  distress inks. 

The stamps I used on this card were:î
I used versamark and Honeydoo silver sparkle embossing powder  to give me my sparkle and silver embossing powder on the spiders web and dragonflies and sequins for the bling. 

BloggerImage
I have entered this card in the following challenge. 

For my second card I used
http://www.sweet-poppy.com/catalog/sweet-poppy-stencil-maple-leaf-p-880.html
The butterfly stencil was also a Lavinia design by sweet poppy stencils but I was unable to find the link. 
For the maple leaf stencil I used fired brick distress ink. 
For the butterfly I used white gesso, once dried I highlighted with winkastella sparkle pen. 

The background was made with seedless preserves, mustard seed, salty ocean,faded jeans and festive berries distress inks. 
The stamps used were. 
I used versafine and Honeydoo black sparkle embossing power for the dragon pods, then used glossy accents in the centre of the pods. White embossing powder for the snowflake stamp, with a pink crystal embellishment in centre. 
BloggerImage
Happy crafting. 


Sunday, 4 December 2016

Workshop Projects

Good afternoon. It's a cold but sunny day here in London. 
Had a wonderful day at Eileen Godwins workshop yesterday. Learnt a new technique that I've not tried before and really enjoyed making my projects. Was a very inspirational day. 
Great company as always with lots of crafty ladies. 
Also got to spend the day with a friend and my best buddy too.
 Thought I'd share my projects with you. 
This card was made using the Masterboard technique, which I love doing. 

BloggerImage
The following two cards were made using the mica spray, brushos and cling film technique. Such an easy technique to do, think I'll be using it more often. 
BloggerImage
BloggerImage
Thank you for visiting my blog.